Tutorial: Sequined Pudding decoration
Making sequin decorations with polystyrene shapes is an old technique. When I first encountered this forty years ago, it was called pinfleur, but since then it has been called pin-art, sequin art and many other names. Whatever its name, this is the technique of making decorations by pinning sequins to polystyrene shapes. It is an easy craft to start, and a good way to pass the time.
With gentle handling these decorations can last for decades: I still have some of my original ones. However, because no glue is used, you can always pull them apart and reuse the pieces for other crafts. The base polystyrene shape takes a bit of wear, but the rest is completely undamaged.
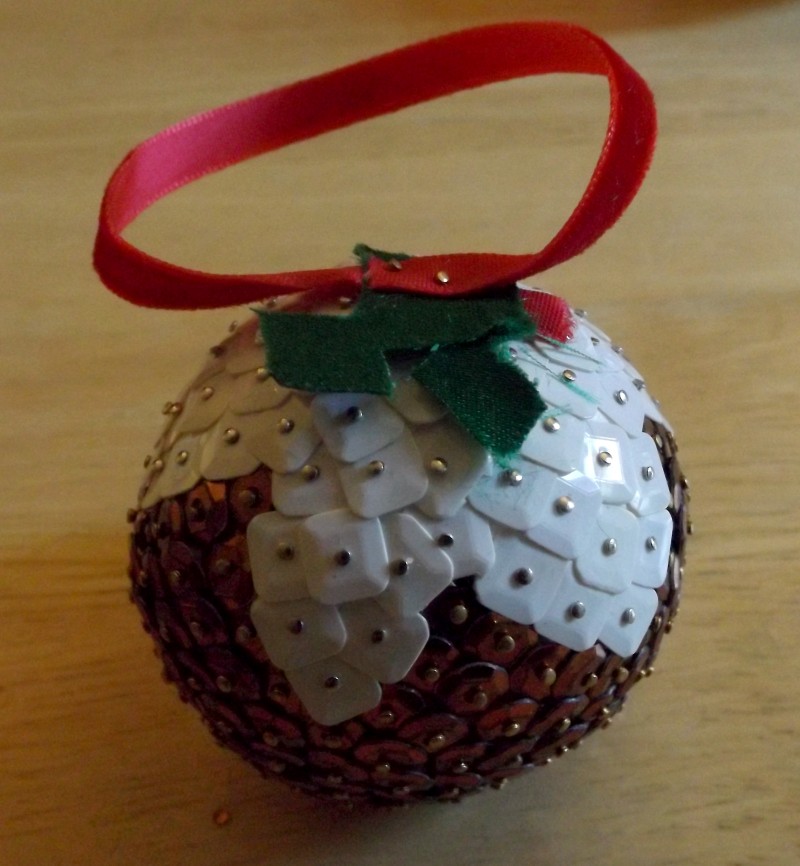
For this tutorial, my round polystyrene ball was a bit squashed, so I decided to make something a bit different: a christmas pudding instead of a bauble.
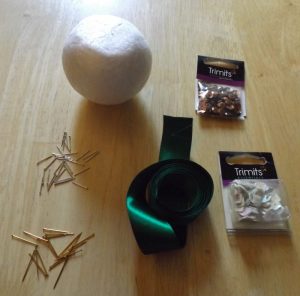
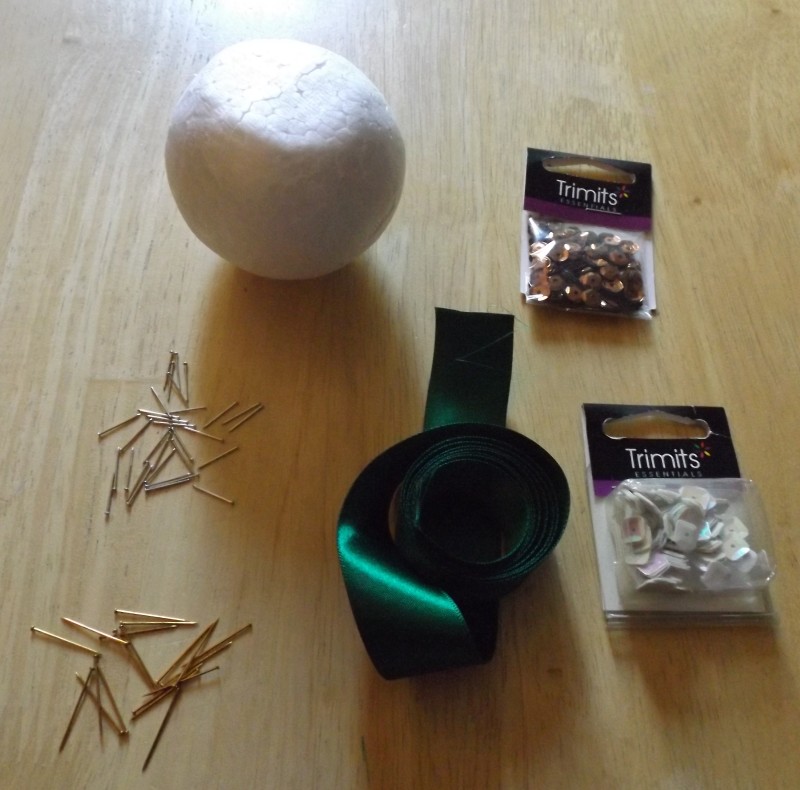
To make this you will need: a round polystyrene shape, brown round cupped sequins, white square-shaped cupped sequins, sequin pins, green felt or ribbon, and string or red ribbon to hang it All of these are available at Art and Craft Valley, though I had both brass craft and nickel sequin pins left over from another project, so I used both to get different pin heads showing. You want cupped sequins for this because they fit better against a round shape.
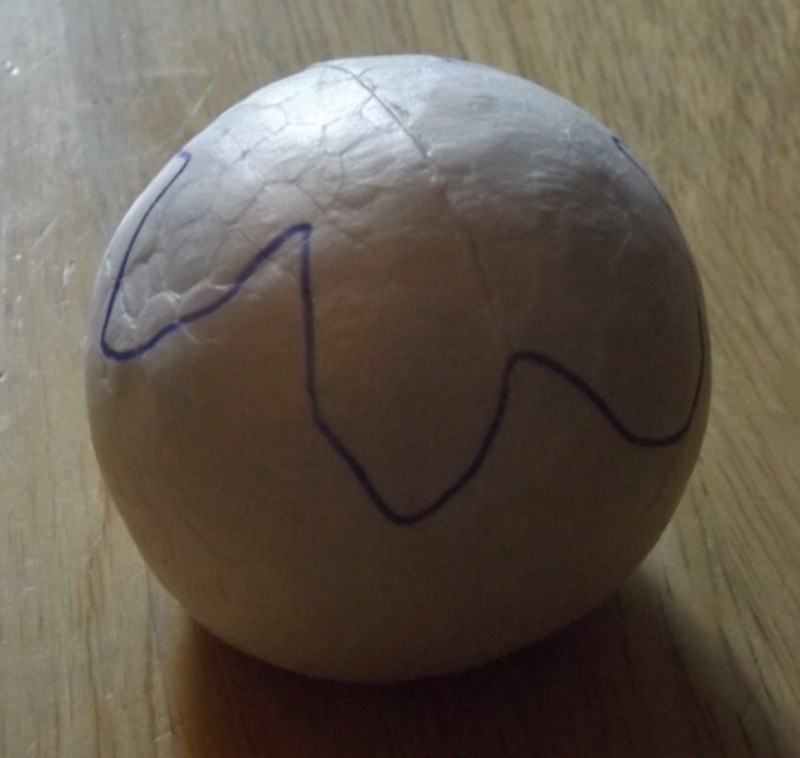
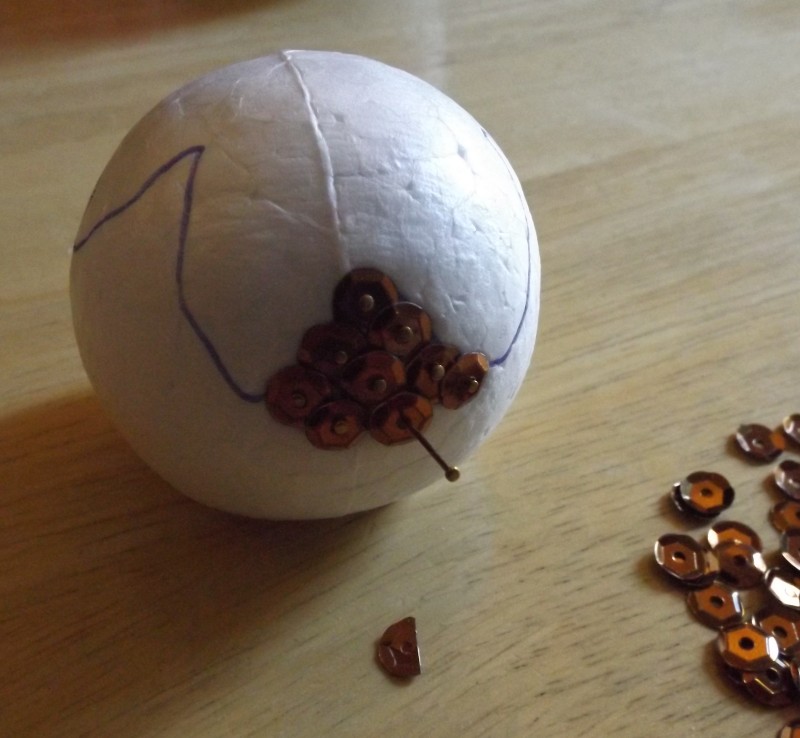
1) Mark your pudding. First, take the polystyrene ball and draw a rough outline of where the icing should go. Since mine was squished, I put the flat base at the bottom. If you are making a pudding, you might want to squish yours, or cut a small piece off for the right shape.
I’m using up leftover pins, so I have brass craft pins (15mm) and nickel sequin pins (13mm). For larger shapes, longer needles hold better, but for small shapes with closely placed sequins, short pins make it easier to fit them in. The only exception is the hanging ribbon, where you might want something longer that grips better if your decoration is heavy.
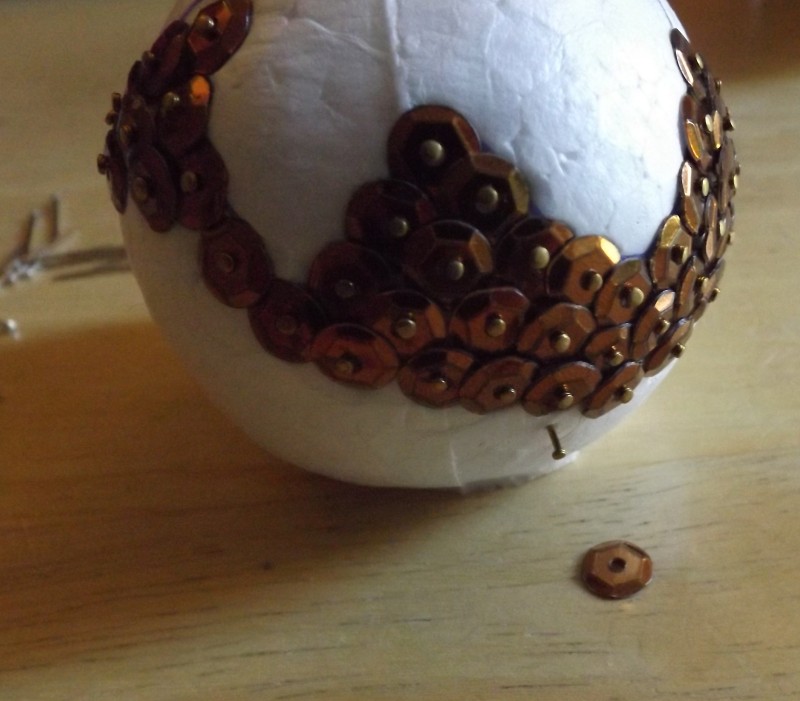
2) Start Pinning Sequins Thread a brown sequin onto the pin, the cup-side towards the pointed end. Push the pin into the polystyrene until the sequin is held firmly against the side. Then place another one next to it the same way. Overlap them so the polystyrene doesn’t show. You might get sequins that split or fall off the pin, especially if the pin is put in at an angle and not straight.
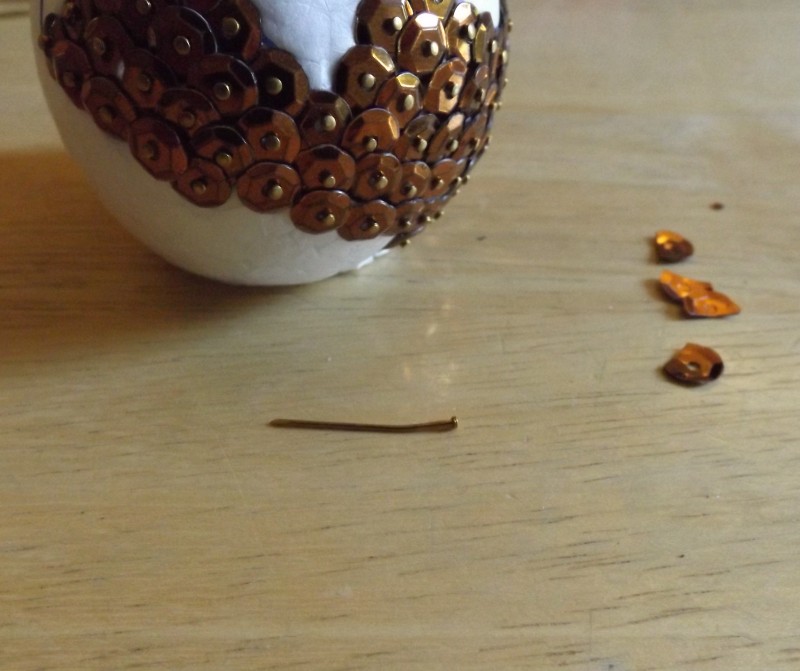
Try to put your sequins in straight and not at an angle to reduce the chances of the sequin falling off. If your sequin falls off and the pin is left over, a craft knife or edge of a spoon can get under the head and pry it up easily. Don’t wiggle it: it will make it harder to reuse the hole. Watch out for “that one sequin”: the one that has a hole slightly larger then the head of the sequin pin. There are usually several in a pack, so put them aside for another project. If that one sequin is a nuisance, “that one pin” with the small head can be worse, and how a pin can bend on polystyrene I have no idea.
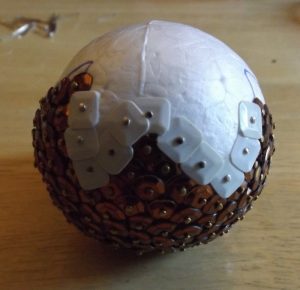
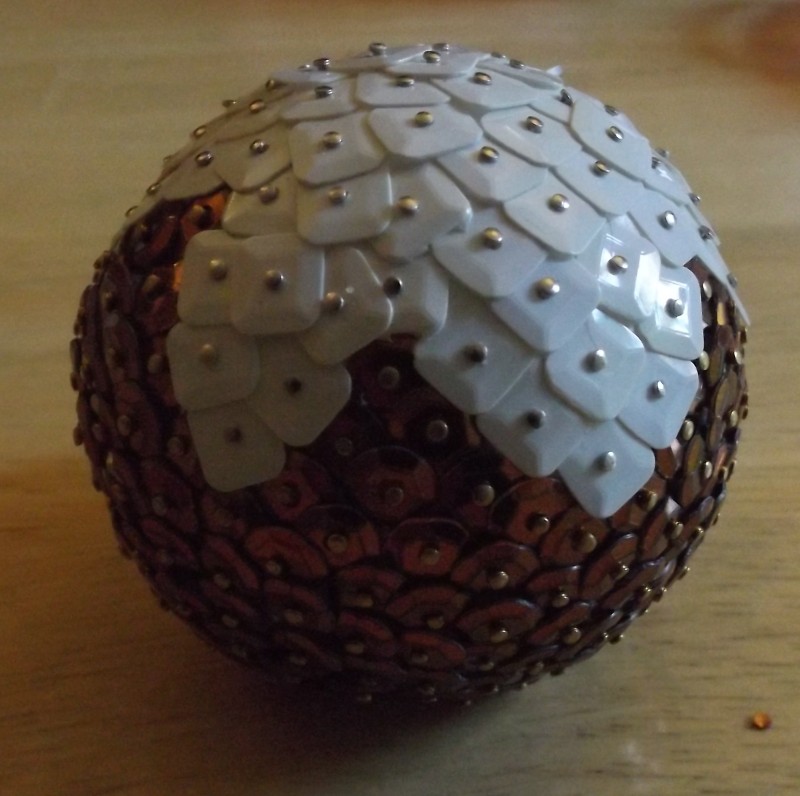
3) Cover the Pudding. Working from your icing line downwards, cover the bottom half of the pudding in overlapping brown sequins. If I had had any red or black sequins I could have added some for extra pudding texture, but I wasn’t opening a whole sequin pack for one or two.
If I was really fussy I would have put a blob of enamel paint on the pin heads to make them blend. Instead I used the brass pins for the brown part of the pudding, so the yellow heads could add texture as I went.
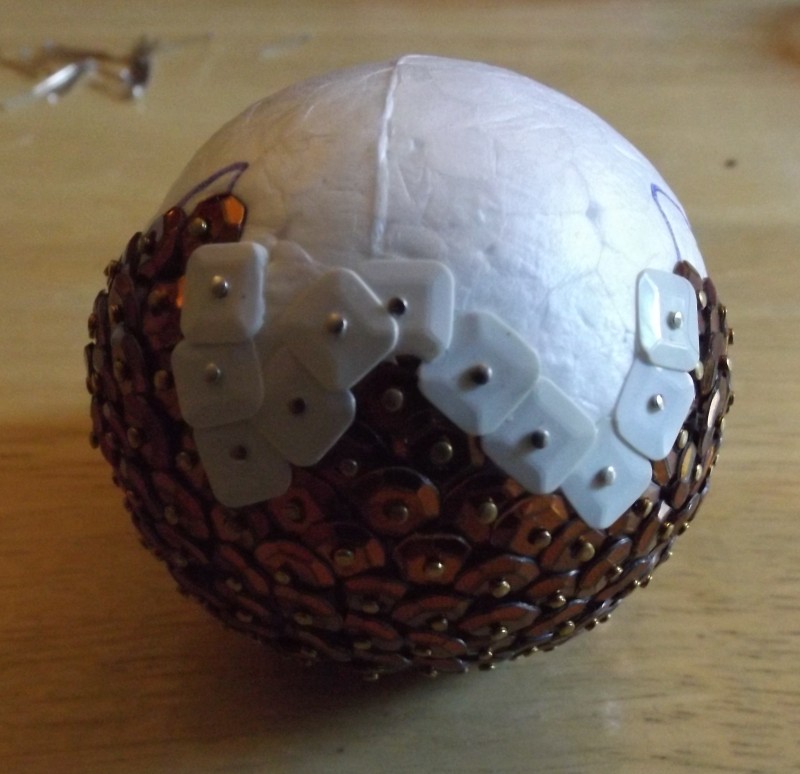
4) Icing Then on to the icing. The larger square white sequins give a different texture, and the shape can be rotated to let the icing drips end in a point and draw straight(-ish) lines. Place the first one by your icing line, overlapping the brown sequins. Then work upwards from the line, rotating the sequins to create the lines of the icing. By working upwards from the line, the overlap creates a look that the icing has flowed downwards. I used nickel sequins pins for this, as the silver blended with the white more than brass would have (and I had them left over).
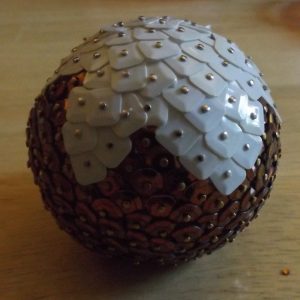
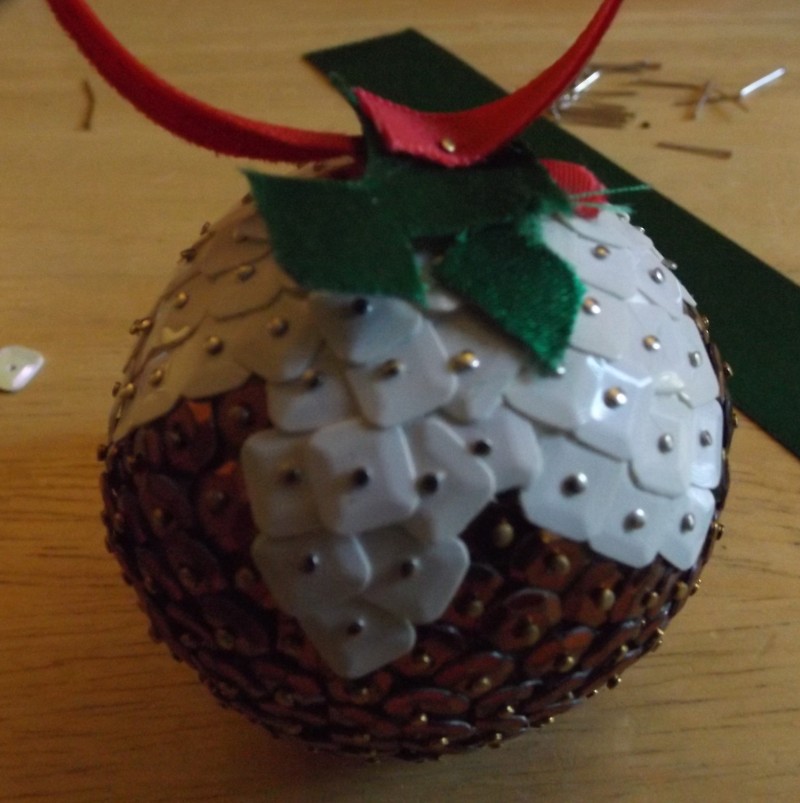
Once the entire thing is covered in sequins, you should now have a basic Christmas pudding.
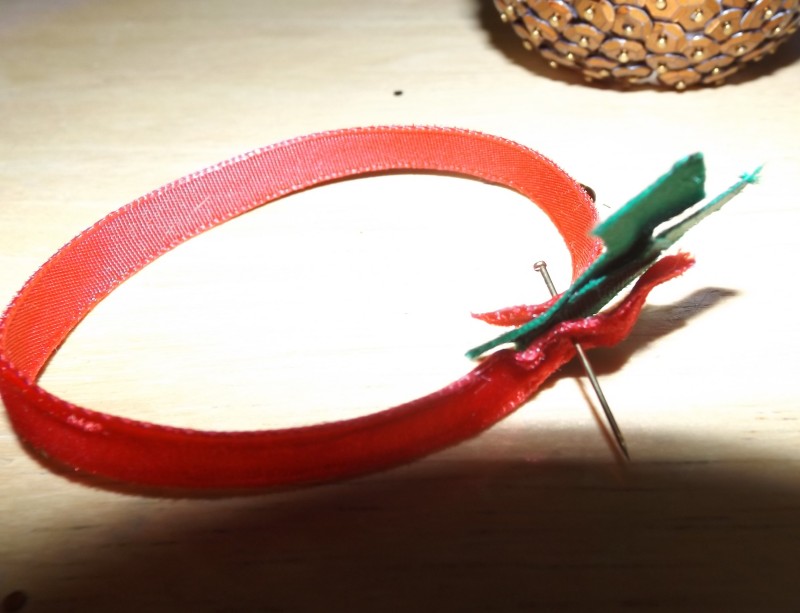
5) Leaves and Ribbon. Cut two holly leaf shapes out of your felt or ribbon. (For me this was the tricky part as my scissors decided today was not a day they were going to cut.) Cut a length of your hanging ribbon. Then slide a pin though both leaves, and the ribbon to make a loop, and pin this to the top. Add extra pins to secure the ribbon loop so you can lift the whole decoration by it.
If you have any small red beads or pins with red rounded heads, you could use those to hold the leaves and stand in for holly berries. I didn’t, so I went with the lazy option and no berries. The good thing about this hobby, is that if I change my mind I can always go back and alter it later.
Here’s a full photo tutorial. Don’t forget to leave comments below!


Share via:

Crafty Polystyrene shapes
You May Also Like

Find us on Facebook and Instagram
18th March 2024
Paperblanks – Truly Gorgeous Notebooks
4th October 2024